How to Handle Image Uploads in JavaScript
Learn how to implement efficient image uploads in JavaScript, covering file selection, validation, previews, and server uploads seamlessly.


Uploading images is a key feature in modern web apps, whether for profile pictures, product listings, or sharing photos. A smooth process involves file selection, validation, previewing, and server upload. JavaScript simplifies this, improving speed and user experience. Here's what you need to know:
-
File Input Setup: Use
<input type="file">with attributes likeacceptto filter file types. Enhance usability with drag-and-drop zones and clear instructions. - Validation: Check file size, type, and extensions on the client side while complementing with server-side checks for security.
-
Previews: Use
URL.createObjectURL()orFileReaderto show image previews, allowing users to confirm their selection. - Uploading: Leverage the Fetch API or Axios for server uploads. Both support features like progress tracking and error handling.
For a quick solution, tools like Simple File Upload handle uploads directly to the cloud, reducing server load and setup time. It includes features like a global CDN, AI alt-text generation, and easy configuration. Whether you build a custom system or use a service, the goal is to make uploads fast, secure, and user-friendly.
Setting Up the File Input and User Interface
Creating an effective file input and user interface is the first step in building a seamless image upload system. A thoughtfully designed setup ensures smooth validation, clear previews, and efficient uploads, all while maintaining accessibility.
Creating a File Input Element
The HTML file input element is the foundation of any image upload feature. Start with a simple structure that includes proper labeling and file type restrictions:
<label for="image-upload">Choose image files:</label>
<input type="file" id="image-upload" name="imageUpload" accept="image/*" multiple>
The accept attribute is key here - it filters the types of files users can upload. For example, accept="image/*" allows any image format, while accept="image/jpeg,image/png,image/webp" narrows it down to specific types.
Pairing the input with a label improves accessibility, making it easier for all users to interact with the form. Adding a hint or instruction near the input element provides clarity about file restrictions, like size or quantity limits:
<label for="image-upload">Upload product images</label>
<input type="file" id="image-upload" accept="image/jpeg,image/png" multiple>
<span class="hint-text">JPG or PNG files only, max 5MB each, up to 10 files</span>
This approach ensures users know exactly what to expect and reduces the likelihood of errors during the upload process.
Building a Better Upload Interface
While a basic file input gets the job done, users today often expect a more interactive and intuitive experience. Enhancing the interface with features like drag-and-drop functionality can make the process more engaging. Here's an example of a modern drag-and-drop upload zone:
<div class="upload-zone" id="dropZone">
  <div class="upload-content">
    <svg class="upload-icon" viewBox="0 0 24 24">
      <path d="M12 2L12 15M5 9L12 2L19 9"/>
    </svg>
    <p class="upload-text">Drag images here or <button type="button" class="browse-btn">browse files</button></p>
    <p class="upload-hint">PNG, JPG up to 10MB each</p>
  </div>
  <input type="file" id="hiddenInput" accept="image/*" multiple style="display: none;">
</div>
This setup combines a visually appealing drop zone with clear instructions. The drag-and-drop area should include visual cues, like icons and text, to guide users. For instance, use an outline to indicate the default state, and change the background or border when files are dragged over the area. These small touches make the interface feel more responsive and user-friendly.
Accessibility is equally important. Ensure interactive elements are large enough - at least 44x44 pixels - for easy tapping on touchscreens. Use ARIA attributes and maintain proper color contrast to accommodate users with visual impairments.
To handle errors gracefully, include attributes like data-errorMessage to provide specific feedback when something goes wrong:
<input type="file"
       id="image-upload"
       accept="image/*"
       data-errorMessage="Please select a valid image file (JPG, PNG, or WebP)">
Finally, responsive design is a must. Test the interface on various devices, especially mobile ones, to ensure it works well across screen sizes. Keep in mind that users with limited data plans may prefer optimized file handling to save bandwidth.
A well-thought-out interface not only minimizes errors but also enhances the overall user experience, paving the way for smooth validation and image previews in subsequent steps.
Validating and Previewing Image Files
After selecting images, it's important to validate the files to catch any potential issues and provide users with previews of their selections.
Checking File Types and Sizes
Validating files on the client side not only ensures a smoother user experience but also reduces the risk of uploading problematic files. However, this should always be paired with server-side validation for added security.
The files attribute of the file input element gives you access to crucial details like file name, size, and MIME type. Here's how you can implement client-side validation:
const fileInput = document.getElementById('image-upload');

fileInput.addEventListener('change', function(event) {
    const files = event.target.files;
    const maxSize = 5 * 1024 * 1024; // 5MB in bytes
    const allowedTypes = ['image/jpeg', 'image/jpg', 'image/png', 'image/webp'];
    const allowedExtensions = /\.(jpg|jpeg|png|webp)$/i;

    for (let i = 0; i < files.length; i++) {
        const file = files[i];

        // Check file size
        if (file.size > maxSize) {
            alert(`File "${file.name}" is too large. Maximum size is 5MB.`);
            event.target.value = null;
            return;
        }

        // Check MIME type
        if (!allowedTypes.includes(file.type)) {
            alert(`File "${file.name}" is not a supported image type.`);
            event.target.value = null;
            return;
        }

        // Check file extension
        if (!allowedExtensions.test(file.name)) {
            alert(`File "${file.name}" has an invalid extension.`);
            event.target.value = null;
            return;
        }
    }

    // Proceed to preview if all files are valid
    displayImagePreviews(files);
});
This validation is triggered during the change event of the file input.
Once the files pass validation, you can move on to creating image previews.
Adding Image Previews
After validation, displaying image previews is a great way to let users confirm their selections. The most efficient method for this is using URL.createObjectURL() to generate a temporary URL for the image file:
function displayImagePreviews(files) {
    const previewContainer = document.getElementById('preview-container');
    previewContainer.innerHTML = ''; // Clear existing previews

    Array.from(files).forEach((file) => {
        // Create a wrapper for the preview
        const previewWrapper = document.createElement('div');
        previewWrapper.className = 'preview-item';

        // Create the image element
        const img = document.createElement('img');
        img.className = 'preview-image';
        img.style.maxWidth = '200px';
        img.style.maxHeight = '200px';

        // Generate an object URL for the image
        const objectURL = URL.createObjectURL(file);
        img.src = objectURL;

        // Add file details
        const fileInfo = document.createElement('div');
        fileInfo.className = 'file-info';
        fileInfo.innerHTML = `
            <p><strong>${file.name}</strong></p>
            <p>Size: ${(file.size / (1024 * 1024)).toFixed(2)} MB</p>
            <p>Type: ${file.type}</p>
        `;

        // Add a remove button
        const removeBtn = document.createElement('button');
        removeBtn.textContent = 'Remove';
        removeBtn.onclick = () => {
            URL.revokeObjectURL(objectURL); // Clean up memory
            previewWrapper.remove();
        };

        // Assemble the preview
        previewWrapper.appendChild(img);
        previewWrapper.appendChild(fileInfo);
        previewWrapper.appendChild(removeBtn);
        previewContainer.appendChild(previewWrapper);
    });
}
Make sure to call URL.revokeObjectURL() when removing previews to prevent memory leaks.
For scenarios where createObjectURL() isn't suitable, you can use FileReader.readAsDataURL() as an alternative. This method generates a Base64 representation of the image, which can be useful for saving or transmitting the preview data:
function createPreviewWithFileReader(file) {
    const reader = new FileReader();

    reader.onload = function(e) {
        const img = document.createElement('img');
        img.src = e.target.result; // Base64 data URL
        img.className = 'preview-image';
        document.getElementById('preview-container').appendChild(img);
    };

    reader.readAsDataURL(file);
}
While FileReader has its uses, URL.createObjectURL() is generally more efficient for simple previews.
To enhance the user experience further, consider adding loading indicators for larger files or a placeholder message like "No Preview Available" for unsupported file types. These small touches can make your interface more intuitive and user-friendly.
Uploading Images with JavaScript
Once your images have been validated and previewed, the next step is sending them to the server. JavaScript offers several tools for this task, with the Fetch API and Axios being two of the most commonly used options.
Using the Fetch API
The Fetch API is a built-in feature of modern browsers, making it a straightforward choice for handling HTTP requests. Here’s how you can use it to upload an image:
async function uploadImageWithFetch(file) {
    const formData = new FormData();
    formData.append('image', file);

    try {
        const response = await fetch('/api/upload', {
            method: 'POST',
            body: formData
            // No need to set Content-Type; the browser handles it automatically
        });

        if (!response.ok) {
            throw new Error(`HTTP error! status: ${response.status}`);
        }

        const result = await response.json();
        console.log('Upload successful:', result);
        return result;
    } catch (error) {
        console.error('Upload failed:', error);
        throw error;
    }
}
If you need to upload multiple files, you can tweak the function to handle an array of files:
async function uploadMultipleImages(files) {
    const formData = new FormData();

    Array.from(files).forEach((file) => {
        formData.append('images', file);
    });

    try {
        const response = await fetch('/api/upload-multiple', {
            method: 'POST',
            body: formData
        });

        if (!response.ok) {
            throw new Error(`Upload failed with status: ${response.status}`);
        }

        const result = await response.json();
        return result;
    } catch (error) {
        console.error('Multiple upload failed:', error);
        throw error;
    }
}
To improve the user experience, you can add features like progress tracking and cancellation support:
async function uploadWithProgress(file, onProgress) {
    const formData = new FormData();
    formData.append('image', file);

    const controller = new AbortController();

    try {
        const response = await fetch('/api/upload', {
            method: 'POST',
            body: formData,
            signal: controller.signal
        });

        if (!response.ok) {
            throw new Error(`HTTP error! status: ${response.status}`);
        }

        const result = await response.json();
        return { result, controller };
    } catch (error) {
        if (error.name === 'AbortError') {
            console.log('Upload cancelled');
        } else {
            console.error('Upload error:', error);
        }
        throw error;
    }
}
Using Axios for File Uploads

Axios is another popular option for handling HTTP requests. It offers a simpler syntax and additional features, making it a great choice for more advanced use cases. To get started, include Axios in your project:
// Install via npm: npm install axios
import axios from 'axios';

// Or include via a CDN in your HTML file:
// <script src="https://cdn.jsdelivr.net/npm/axios/dist/axios.min.js"></script>
Here’s how to upload an image using Axios:
async function uploadImageWithAxios(file) {
    const formData = new FormData();
    formData.append('image', file);

    try {
        const response = await axios.postForm('/api/upload', formData);
        console.log('Upload successful:', response.data);
        return response.data;
    } catch (error) {
        console.error('Upload failed:', error.response?.data || error.message);
        throw error;
    }
}
One of Axios’s strengths is its built-in progress tracking. Here’s an example of how to use it:
async function uploadWithAxiosProgress(file, onProgress) {
    const formData = new FormData();
    formData.append('image', file);

    try {
        const response = await axios.post('/api/upload', formData, {
            headers: {
                'Content-Type': 'multipart/form-data'
            },
            onUploadProgress: (progressEvent) => {
                const percentCompleted = Math.round(
                    (progressEvent.loaded * 100) / progressEvent.total
                );
                onProgress(percentCompleted);
            }
        });

        return response.data;
    } catch (error) {
        console.error('Upload failed:', error);
        throw error;
    }
}

// Example usage:
uploadWithAxiosProgress(selectedFile, (progress) => {
    console.log(`Upload progress: ${progress}%`);
    // Use this progress value to update your UI
});
Choosing Between Fetch and Axios
Both approaches have their strengths. The Fetch API is built into browsers, making it lightweight and ideal for simple use cases. Axios, on the other hand, provides advanced features like more detailed error handling and easy progress tracking, which can be particularly useful in complex applications. The choice depends on your project’s needs.
Integrating Simple File Upload into Your Project
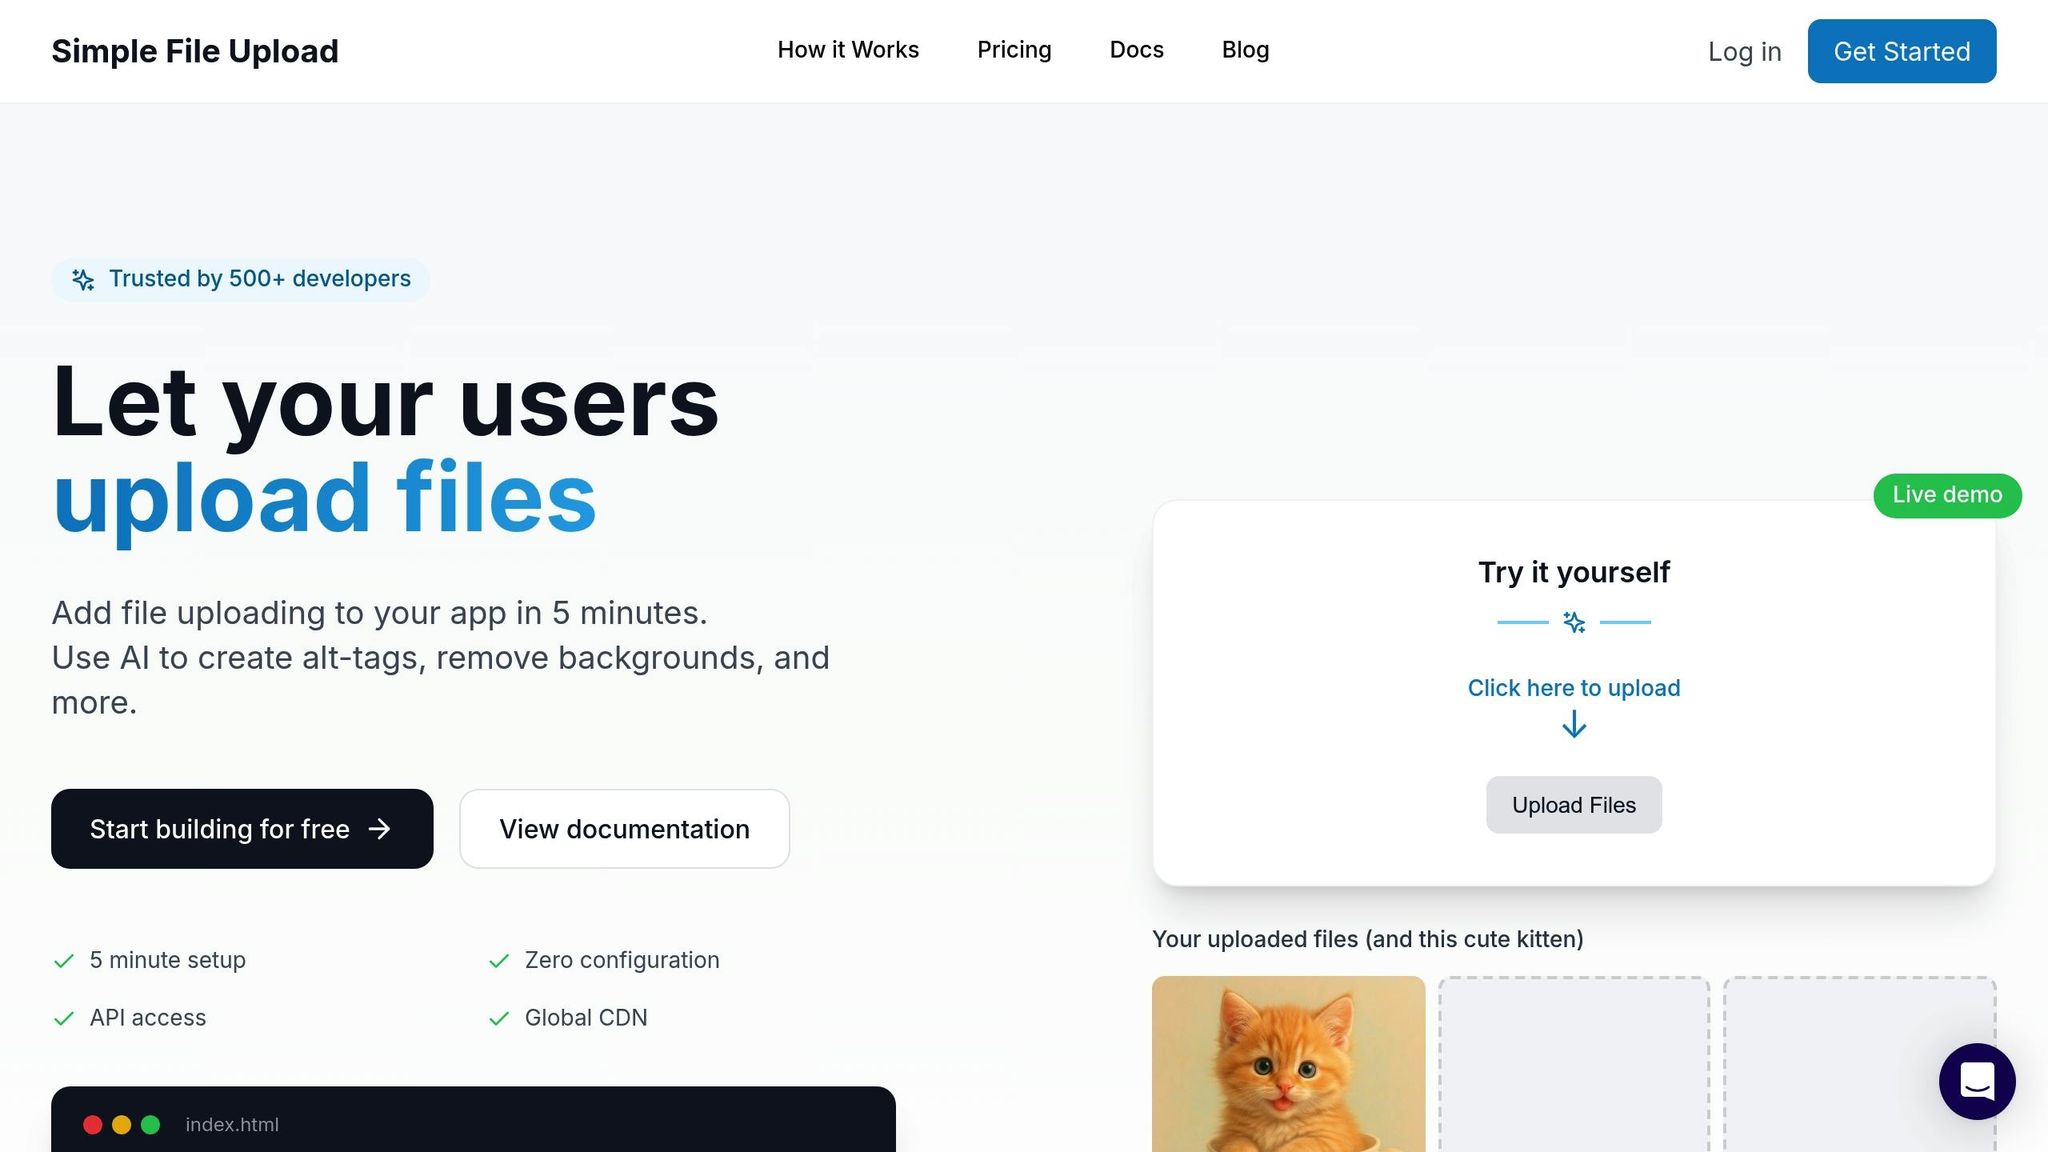
If you're looking to simplify file uploads in your application, Simple File Upload offers a quick and efficient solution. Instead of spending hours - or even days - building and maintaining a custom file upload system, this tool lets you get up and running in just minutes.
Setting Up Simple File Upload
Getting started is easy, and the setup process takes only a few steps.
First, include the JavaScript library in your project:
<script type="module" src="https://cdn.simplefileupload.com/simple-file-upload.latest.js"></script>
Then, place the web component wherever you need the uploader in your application:
<simple-file-upload
    public-key="YOUR_PUBLIC_KEY"
    multiple="true"
    max-files="5"
    accept="image/*">
</simple-file-upload>
To handle uploaded files, listen for the change event:
document.querySelector('simple-file-upload')
    .addEventListener('change', (event) => {
        console.log('Files uploaded:', event.detail.allFiles);
    });
If you're working with React, there's a dedicated component available. Install it via npm:
npm install simple-file-upload-react
Then, import and use it in your React app:
import { SimpleFileUpload } from 'simple-file-upload-react';

function MyComponent() {
    return (
        <SimpleFileUpload
            publicKey="YOUR_PUBLIC_KEY"
            onChange={(event) => console.log("Files changed:", event)}
        />
    );
}
Drew Clemens, the Founder of Protege.dev, shared his experience:
"Simple File Upload allowed my team to stop fighting with file uploading and focus on what matters - our customers. We had the uploader up and running in 5 minutes! It really is that easy!"
Features That Stand Out
Simple File Upload isn't just about basic file uploading. It comes packed with features designed to save time and improve efficiency:
- AI-Powered Alt-Text Generation: Automatically generates descriptive text for images, making your app more accessible.
-
Image Transformations: Resize, crop, and optimize images directly through URL parameters. For example, appending
?w=200&h=200resizes an image to 200x200 pixels, while&fit=filladjusts cropping. - Global CDN: All files are served through a content delivery network, ensuring fast access for users worldwide without any extra setup.
- Direct-to-Cloud Uploads: Files are uploaded straight from the browser to the cloud, bypassing your server. This reduces server load and speeds up uploads, especially for large files.
Robin Warren from Cherry Wood Software highlighted the value of this approach:
"File uploading can be complicated and time-consuming for developers. With Simple File Upload, we were able to install the uploader quickly and provide file uploading from anywhere to our customers."
Why Choose Simple File Upload?
Here’s a quick comparison to show how Simple File Upload stacks up against manual implementations:
| Feature | Manual Implementation | Simple File Upload |
|---|---|---|
| Setup Time | Days to weeks | 5 minutes |
| Image Transformations | Custom coding required | Built-in resize API |
| AI Alt-Text Generation | Third-party services needed | Included automatically |
| CDN Delivery | Separate setup required | Integrated global CDN |
Beyond the time savings, Simple File Upload takes care of common challenges like configuring AWS S3 bucket policies, setting up CORS, and managing IAM roles. It even solves issues like Heroku's ephemeral filesystem, where uploaded files can vanish during dyno restarts.
Pricing Options
Simple File Upload offers flexible plans to fit various needs:
- Basic Plan: $35/month, includes 25 GB of storage and a 5 MB file size limit.
- Pro Plan: $80/month, includes 100 GB of storage and a 50 MB file size limit.
- Custom Plan: $250/month, includes 500 GB of storage and dedicated support.
With over 500 developers already trusting this service, Simple File Upload makes it easier than ever to implement reliable, secure file uploads while focusing on what really matters - building your app.
Conclusion
Fast and efficient image uploads are essential for creating a seamless user experience. Slow uploads not only frustrate users but can also lead to higher costs.
This guide covered the key steps for handling image uploads, including file input, validation, previewing, and server-side uploads. By incorporating techniques like input validation, previews, and using tools such as the Fetch API or Axios, you can build a strong image upload system. Optimizing images on the client side helps reduce bandwidth usage, speeds up uploads, and lessens the processing load on the backend. These strategies make your applications more efficient and cost-effective. Tools like Simple File Upload can further simplify this process, offering an all-in-one solution.
For those who prefer custom setups, keep in mind the additional effort required for server configuration, implementing security measures, and integrating CDN delivery.
However, if you're looking for a quick and hassle-free solution, services like Simple File Upload can have you up and running in just five minutes. With features like AI-generated alt text and global CDN delivery, it allows you to focus on building your application while handling the complexities of image uploads for you. It’s a reliable and efficient option for projects of any scale.
FAQs
What are the best practices for securely handling image uploads in JavaScript?
To handle image uploads securely in JavaScript, it's crucial to validate and sanitize files before processing them. Start by checking the file type - allowing only formats like JPG or PNG - and set size limits to ensure files meet your application's requirements. This step helps block potential threats, such as malicious payloads hidden in files.
While client-side validation is helpful, always back it up with server-side validation for an added layer of security. Encrypt data transmission using SSL/TLS to safeguard files during upload. Store uploaded files in secure, access-controlled locations, and restrict file permissions. Most importantly, avoid executing uploaded files to minimize vulnerabilities.
These combined precautions help shield your application and its users from threats like malware, injection attacks, and data breaches.
How do I create a drag-and-drop feature for uploading images in JavaScript?
To build a drag-and-drop image upload feature in JavaScript, start by creating a drop zone. Use a <div> element and style it with CSS to make it stand out - something that visually signals users where to drop their files. Add event listeners for dragenter, dragover, and dragleave to provide real-time feedback, like highlighting the drop zone when a file is dragged over it. When handling the drop event, you can access the files using event.dataTransfer.files. From there, validate the files for type and size, and upload them using the Fetch API or a library like Axios.
To make the experience even better, consider adding a preview of the uploaded images. Combine this with clear instructions, such as “Drag and drop your image here or click to upload,” to keep the process straightforward and accessible for everyone.
What are the benefits of using Simple File Upload instead of building your own image upload solution?
Using Simple File Upload can save you a lot of time and effort compared to building your own image upload system from the ground up. It offers a ready-made, responsive upload widget that fits right into your project, making setup and deployment much quicker. This way, you can spend more time refining your app's main features instead of getting bogged down in complicated file-handling code.
It comes packed with helpful features like secure cloud storage, speedy delivery via a CDN, support for uploading multiple files at once, and dynamic image resizing. These tools ensure a smooth experience for both developers and users. On top of that, its scalability and reliability make it a solid option for handling image uploads, no matter the size of your project.